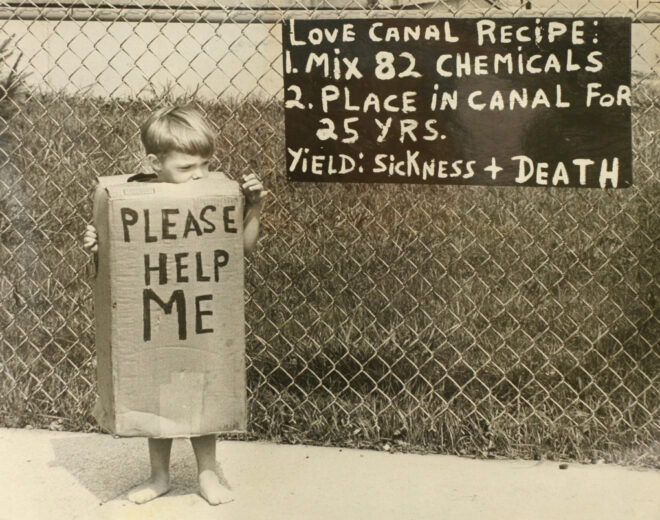
Love Canal USA is a story where a chemical company participated in building a neighborhood on top of a chemical storage tank. Children and families got sick. It didn’t end well.
Removing an underground storage tank (UST) is challenging and intimidating; it requires specialized skills and knowledge, not to mention specific safety protocols that you must follow. If you’re contemplating taking this on yourself, here are some tips to make the process easier.
1. Check the Local Regulations
The local government regulates underground storage tanks. Before you get started, research your area’s regulations to ensure that you’re following all the required steps and staying compliant with the law. It is also essential to research any permit requirements necessary for the removal job. The paperwork can be extensive and time-consuming, so give yourself enough time to get through it. If there are any special requirements or regulations you need to be aware of, consider them as you plan your UST removal job.
2. Survey the Site
Before removing a UST, surveying the site and performing a few safety checks is important. Make sure there are no utilities running through the area, such as gas lines, electrical wires, and water mains. It is also important to note any other environmental hazards that may be present on the site, such as nearby bodies of water or underground septic tanks.
3. Hire Experts
Removing an underground storage tank is a complex task that requires specialized skills and knowledge. Before attempting to do it yourself, consider hiring an underground storage tank removal service to handle the job. Not only will they have the experience necessary to do the job safely and efficiently, but they can also help ensure that all regulations are followed. With the help of experienced professional service, you can rest assured that your UST will be removed with minimal disruption to your property and the environment.
4. Have a Plan for Leaks
If you are removing an old or damaged UST, it is crucial to have a plan to deal with potential leaks. Have the necessary safety equipment and absorbent materials to address any spills quickly. It is also vital to ensure that the area surrounding the UST is appropriately sealed off before beginning work. This will help reduce the risk of hazardous materials leaching into the ground and contaminating the surrounding soil or groundwater.
5. Take Care of Contaminated Soil
If the UST has been leaking, some contaminated soil will likely be around it. Make sure to dispose of this material per local regulations properly. Sometimes, you may need to hire a remediation company to help assess and clean up contamination before the removal job begins. This can be especially important if the contamination poses a risk to the health and safety of nearby residents. You may also need to hire a professional to test the soil before and after removing the UST. This can help ensure that all contamination has been adequately addressed and that the area is safe for future use.
Following these five tips can help you safely and efficiently remove your UST. Remember to do your research, plan, hire experts when necessary, and take care of any contaminated soil. Doing so can help ensure that the job is done quickly and properly, with minimal disruption to you or the environment.
Author: Bhok Thompson
Bhok Thompson is a Singapore-based engineer, entrepreneur, and self-proclaimed “eco-tinkerer” who thrives at the intersection of sustainability, business, and cutting-edge technology. With a background in mechanical engineering and a deep fascination with renewable energy, Bhok has dedicated his career to developing innovative solutions that bridge environmental consciousness with profitability. A frequent contributor to Green Prophet, Bhok writes about futuristic green tech, urban sustainability, and the latest trends in eco-friendly startups. His passion for engineering meets his love for business as he mentors young entrepreneurs looking to create scalable, impact-driven companies. Beyond his work, Bhok is an avid collector of vintage mechanical watches, believing they represent an era of precision and craftsmanship that modern technology often overlooks. On weekends, you can find him exploring the vibrant street food scene in Singapore—because, as he says, "Innovation starts with good energy, and nothing fuels creativity like great food!" Reach out: [email protected]


